Traditionally, spur gears are made using specialized tooling and setups. This means that small runs of custom gears can be expensive; much more expensive than most other types of machined parts.
However, the flexibility of a waterjet cutting machine means that gears are no more difficult to waterjet cut than any other part. At Big Blue Saw, we have made many gears for customers who needed unusual sizes of gears or gears with custom mounting holes. Other customers have wanted, for example, polycarbonate plastic or titanium alloy gears which were impossible to find off-the-shelf.
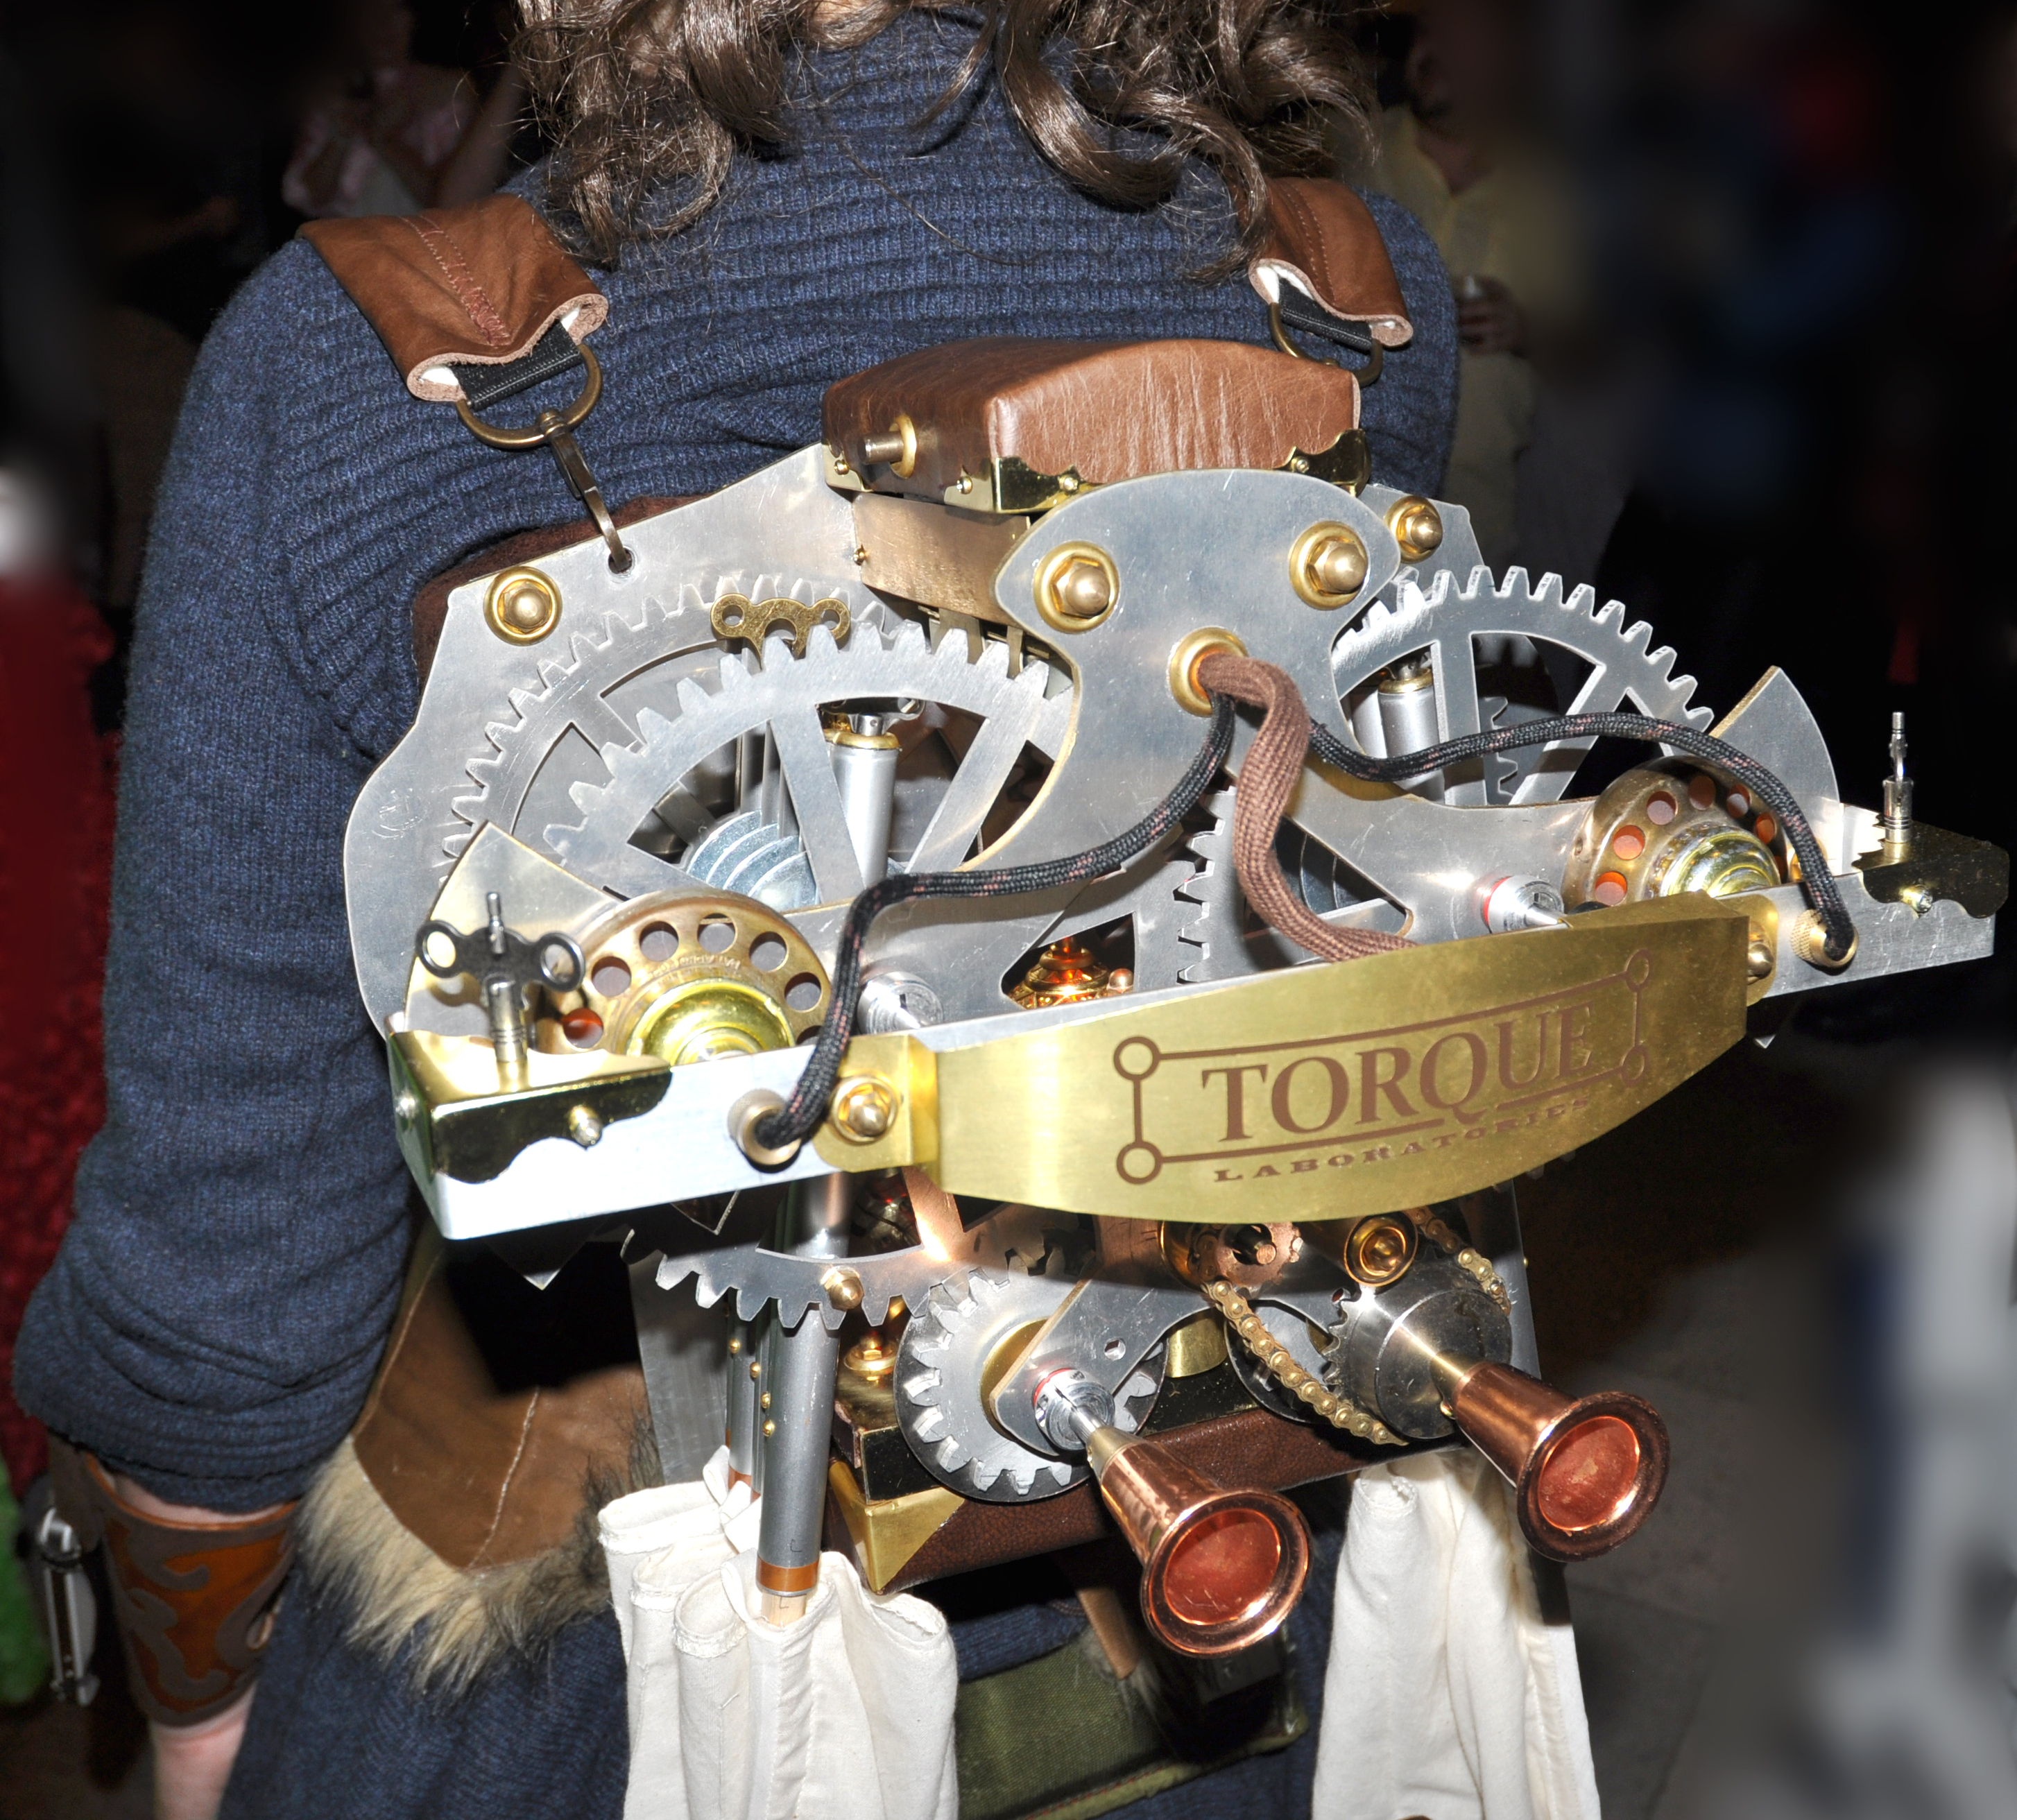
Steampunk costume by Chris Lee with waterjet cut aluminum gears which actuate a set of wings

Steel (left) and aluminum (right) gears
Waterjet cutting works best with gears of 12 diametral pitch (DP) or larger. As you can see in the diagrams below, the waterjet cutting stream is small enough to easily machine the features of this size gear. Additionally, a geartrain of this size or larger can tolerate the roughness of the cut edge on a waterjet cut gear. With a waterjet stream diameter of 0.04 inches, however, you can make gears down to about 20 DP. I would only recommend this size for thinner gears in applications where there is some “slop” in the geartrain due to the surface roughness of the cut edge as well as other irregularities which can arise from waterjet cutting.

Waterjet stream of 0.04″ diameter shown with a 12 DP gear

Waterjet stream of 0.04″ diameter shown with 16 DP gear

Waterjet stream of 0.04″ diameter shown with a 20 DP gear

Waterjet stream of 0.04″ diameter shown with a 24 DP gear
Waterjet cut gears are rough along the cut edge where the gears mesh together. This can cause a shorter gear lifetime due to wear than you might expect from a traditionally cut gear. So for applications where this might be a problem, you should consider making the gear larger, either by making it from thicker material, or decreasing the DP so that the teeth are larger.
When first using new waterjet cut gears, it is a good idea to let the gear train run continuously for a few hours without load and with a light lubricant. Then clean the gears and re-lubricate before placing the gear in service. This will even out the rough cut edges of the gears and allow the geartrain to run smoothly.
Gears above 1/8 inch (3 mm) thick should usually be cut using low-taper cutting. This allows waterjet cut gear to mesh as accurately as possible.
Some people have reported success with regular (non-low-taper) waterjet cut gears by placing two waterjet cut gears so that their tapers face the opposite directions. In other words, the top face of one gear will be on the same side as the bottom face of its matching gear.


